
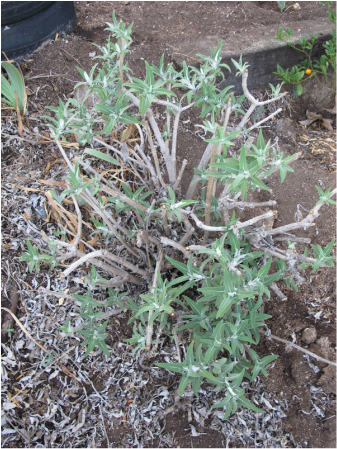
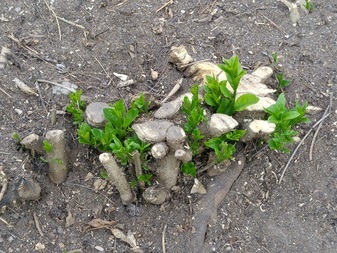
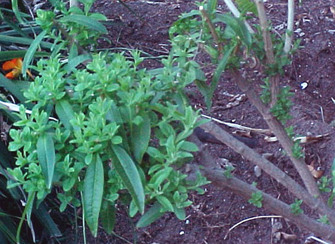
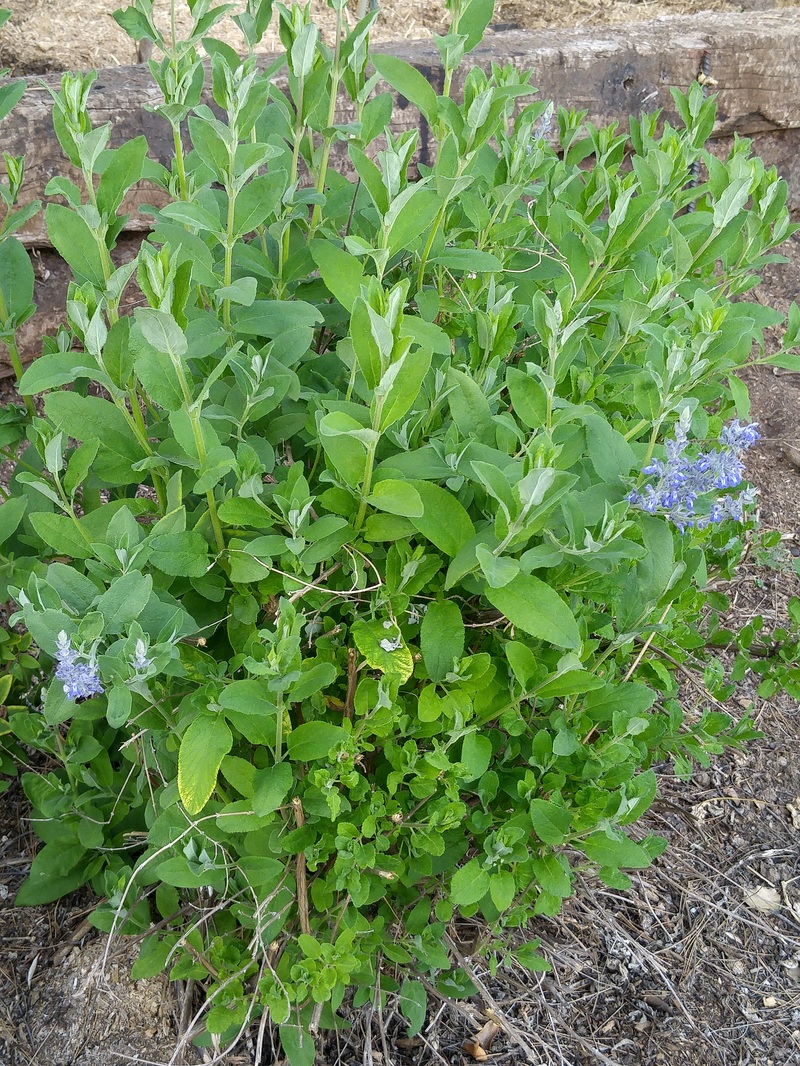
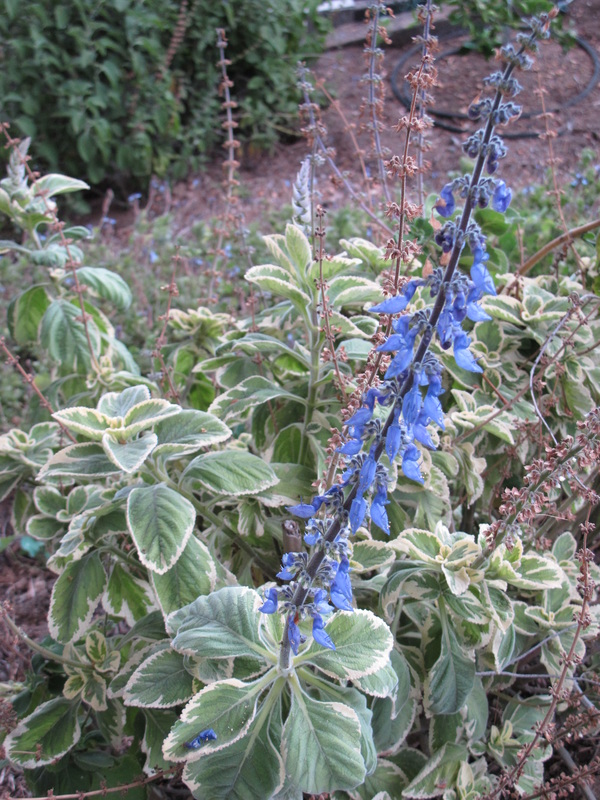
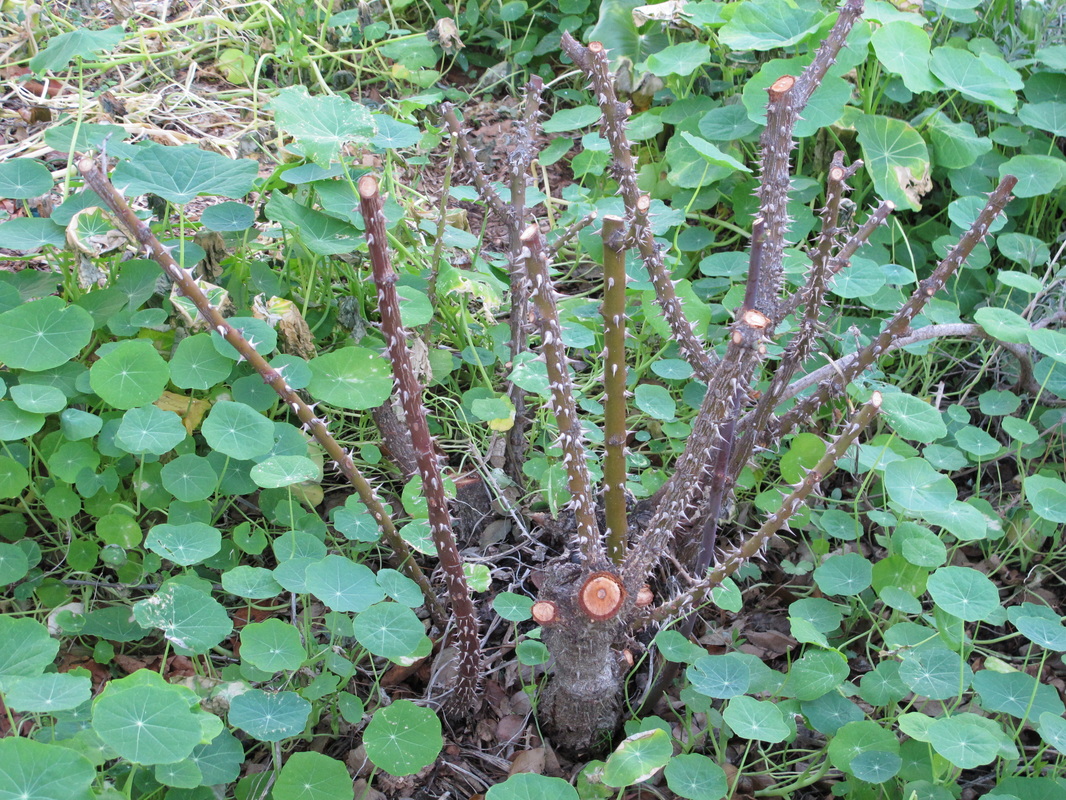
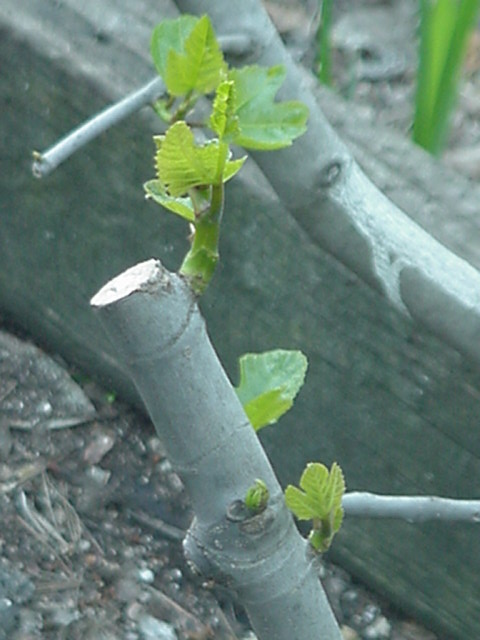
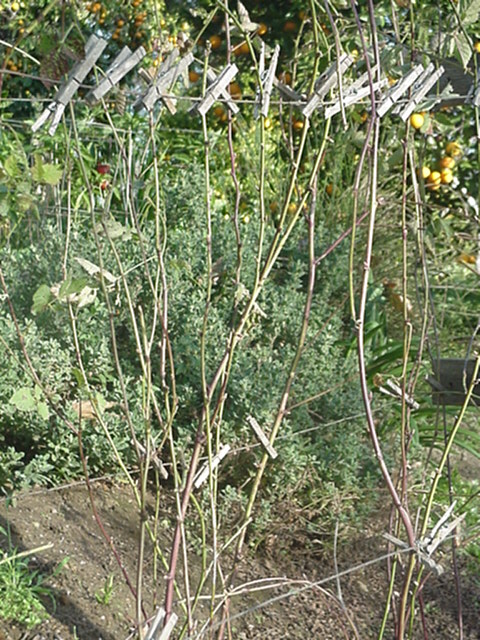
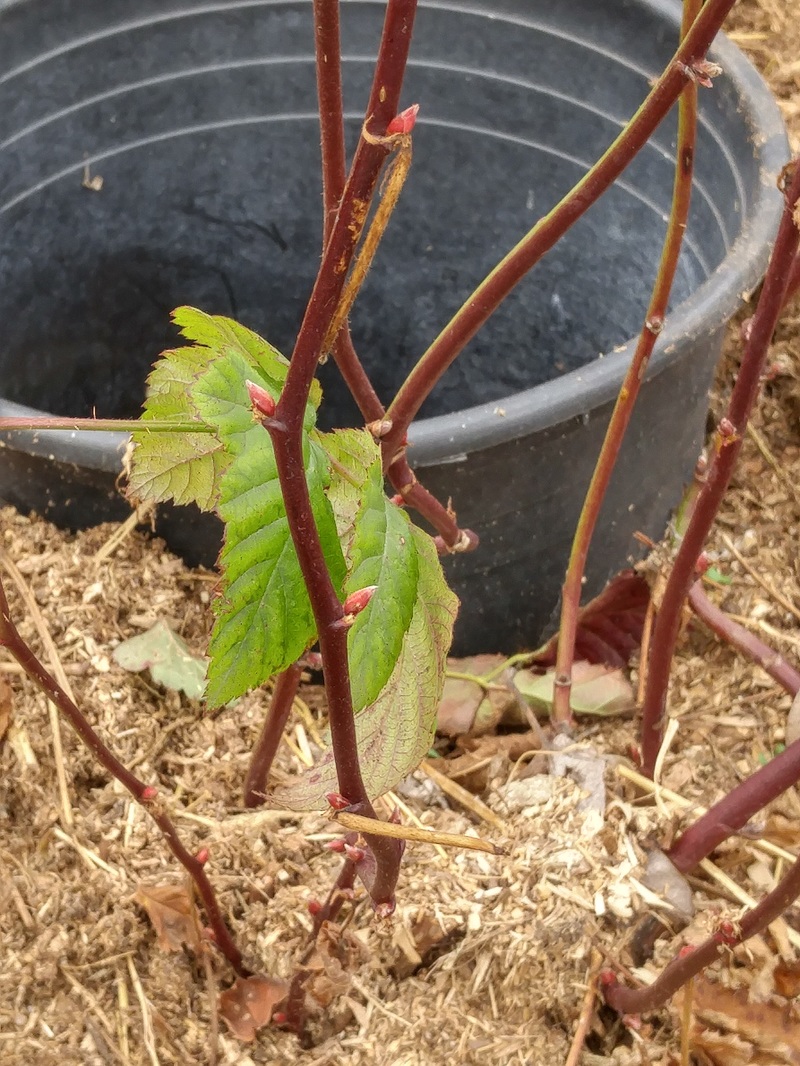
      | Now’s the time to prune ornamentals way back to accommodate their extensive resprouting and blossoming during the upcoming seasons. And, good news for beginners, if the plants are sending up new growth way down on their stems because of the last week’s heat, all the better because those shoots tell you how far back you can cut! The point, of course, is to cut back as severely as possible – even to the ground – but to guarantee that new growth will result. The trick is to identify which plants can handle which level of pruning severity. The caveat for ornamentals that’ll bloom in late spring and early summer is to wait to prune until after they’ve finished blooming. The guideline is to cut back as far as the lowest green foliage, as tiny as it might be, and trim the newly-appearing new growth again in another several weeks if you want the base plant to be as compact as possible for future growth. Salvias can indeed thrive after being cut back almost to the ground. But other plants, like lemon verbena and euryops, can’t tolerate being cut back beyond the previous year’s growth. It’s as if that older wood doesn’t know how to resprout leaves to do its photosynthesis, so branches that were cut back that far just die. For very old plants that have been allowed to grow way too tall or wide for what your desires are now, the technique is to do the pruning in three stages to give the plant time to resprout lower on the trunks for two times, and then fine-tune the shape the third or fourth time around. This can take as little as a single season, or as long as three years, depending on the growth rate of the plant. So, timing your pruning now – or, for next year, in January – means that new shoots will arise almost immediately, and you’ll have bare stems for only a couple of weeks. Then you can breathe a big sigh of relief that you didn't kill your plant and did learn how to work with its natural growth pattern! Camellias I learned this technique when I had returned home to my Pasadena garden in the mid-1990s and found the camellias to be taller than the house roofline, the lowest foliage a good five feet from the soil level, and the trunks completely bare. Because the foliage completely blocked our picture window of the mountains, I knew the plants had to be “renovated.” But because my Mom had planted those camellias in the 1950s when my Dad designed and built our home, I was concerned that I would be threatening those aged plants that I'd enjoyed for so many years. So I decided to prune them in three stages, always leaving enough foliage at each stage so they could recouperate between massacres. First, I literally hacked off all growth taller than I could reach with my loppers – about seven feet – with no regard for whether cuts and nodes matched. I just wanted to get rid of the bulk of the “excess” foliage and force the plants to “push” new growth down lower. The result looked like a thick green pancake – two feet of foliage from five to seven feet off the ground floating on bare brownish gray legs. About three months later, there were enough new shoots, both within the existing foliage and new ones extending out of the trunks below that hadn't had any green growth in many years, for me to consider the next pruning stage. I pruned the top foliage from seven feet down to six feet. Another three months later, there were more new shoots within the foliage and considerably more on the trunks, some even down to the two-foot-high level. I cut another foot off the top of the foliage, bringing it to a five-foot height that allowed us to finally again see the mountains. This time, I went the next step further by trimming each branch and set of leaflets so new growth would proceed in the direction I wanted and fill in the gaps I’d initially created. Although I had few blooms that next year due to my extensive pruning and fine-tuning, the plants were vibrantly green and happily putting out lots of new growth. Each year since then, following their blooming, I trim back upward growth to keep our mountain view uninterrupted while thrilling in the rest of the plants’ vigorous bloom. |
|
0 Comments
 This week’s sudden heat – mid-80s and higher – fosters some changes in the garden that I for one am sorry to see, since I’m not yet tired of harvesting cool-season edibles. But, “normal” winter weather seems to be a non-sequitur, so – as always – we’ll take advantage of the changes as well as regret them! And, who knows – maybe next week will be chilly again…..The gardening world is ever thus, which is why I always urge fellow gardeners – and especially beginning gardeners – to “play” in the garden; this isn’t the place to take everything so seriously that changes become setbacks that feel like failure. Perhaps this is the eternal optimist in me – “Well, that didn’t work, so what can I do now that might work next time, given all the variables?”
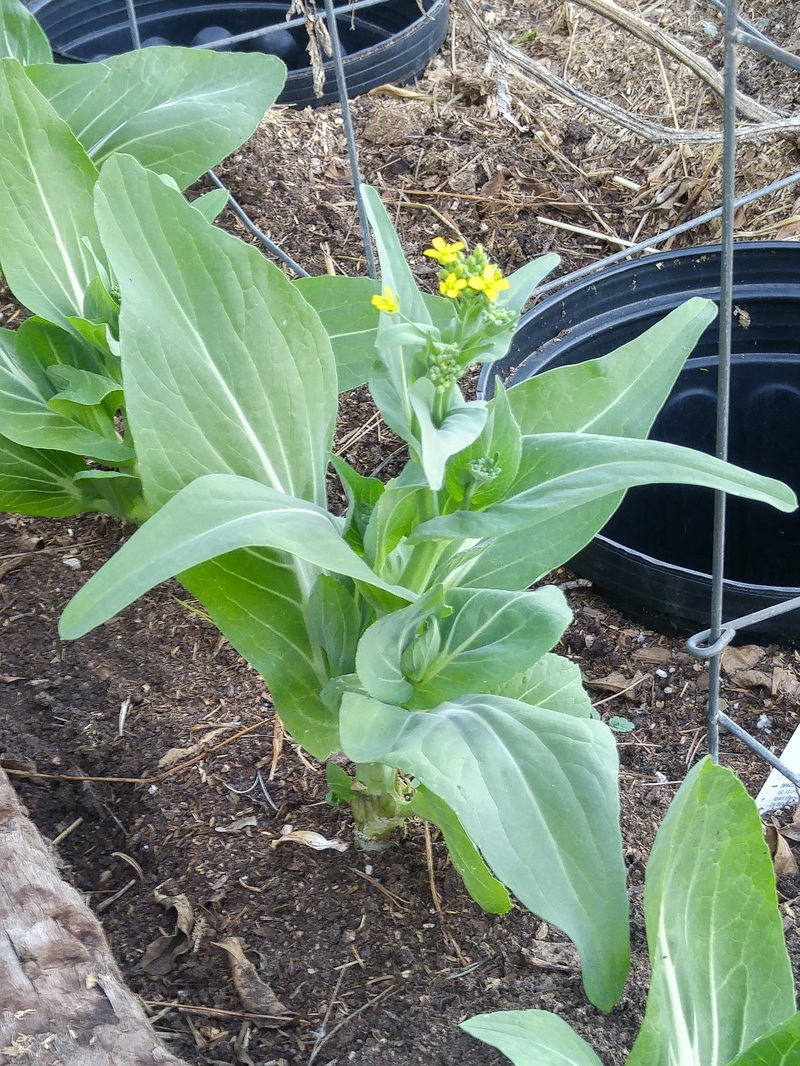
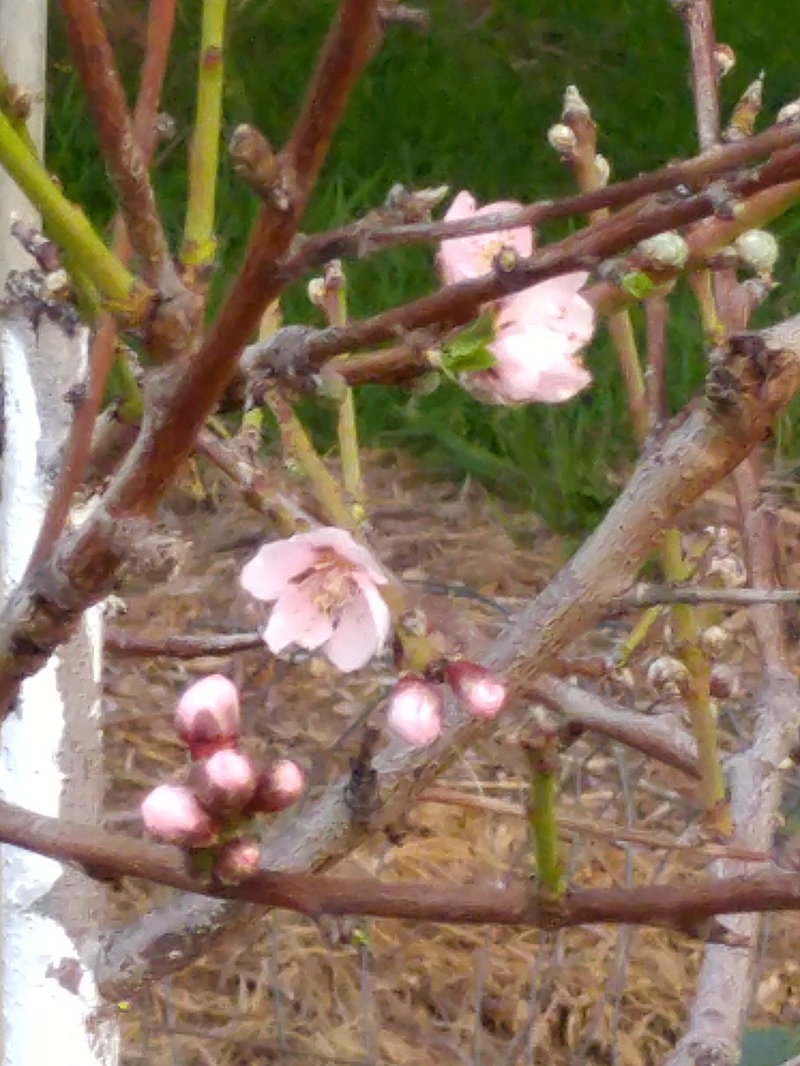
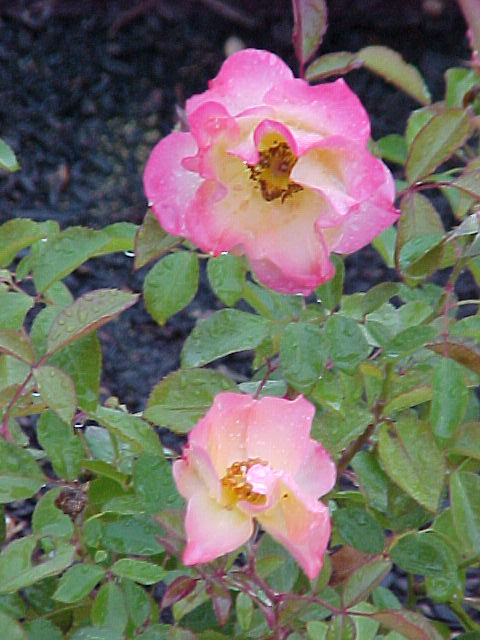
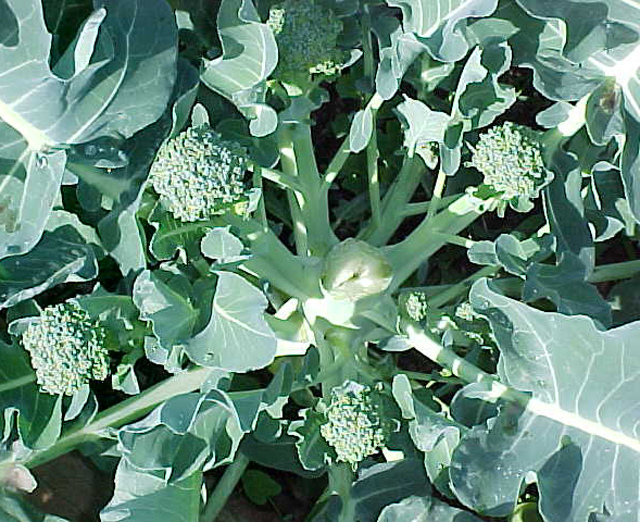
So here are some of the immediate issues that I see in my garden, and my suggestions for your garden: Fruit Trees won’t gain any additional their chill hours, and they may blossom early. One of our Master Gardeners whose forte is fruit trees has determined that they’ve received sufficient chill time (hours of temperatures below 41°) to satisfy most low-chill varieties generally suitable for our area (about 300 hours). If tree blossom buds begin swelling, be sure to finish whatever pruning you had in mind. Especially for beginners who aren’t really sure of where to cut, this “last chance” timing is perfect because it’s immediately apparent where the buds are and so easy to cut just above the outfacing bud in the direction that you want the new growth to go. Broccoli and baby bok choy bolting (shoots lengthening and going to flower). This is always bound to happen when planted in Fall, since the merest heat in spring will shift their hormones to blossoming. And over 80 degrees for more than a week is more than “mere” heat! You can still make a point of harvesting the small florettes, and remember to eat them all – the whole flower stalk is tasty and usually sweeter than the buds themselves. Do sow more seed or transplant more seedlings now so you’ll be able to count on the new plants for longer harvests, perhaps even through June, after the current plants lessen their production of salvageable shoots. (Later in the season, when the lettuce bolts, you’ll find that the leaves on the bolted stalks turn inedibly bitter, so always taste a leaf of each variety before picking a lot.) Water deeply now so roots have residual moisture to pull from the soil for the rest of the week while the heat persists. Like when you’re about to go out on a run or long walk, it’s best to hydrate yourself well before exercising so your body can be fully supplied – much healthier than trying to fill up with water after you’re returned from exercising and have stressed your body because it didn’t have enough water available. Watering now is the beginning of teaching new plants to grow their roots deeply to reach the water in the soil. Make a point of watering deeply so moisture reaches at least six inches below the bottom-most roots for the particular type of plant. For example, lettuce roots will extend to six inches deep, so you should water to moisten soil a foot deep. You can zone your plants to be complementary – like planting lettuce and squash or tomatoes together – so you water for the deep-rooted plants and automatically supply the shallow-rooted plants. Or, you can plant all shallow-rooted plants in one area, and all deeper-rooted plants in another. Purchasing a moisture meter will help beginners to determine how deep water is applied until they develop their own “feel” for the process. The $10 cost will be paid back shortly because plants are provided with the appropriate amount of water, and plants will be healthier because they’re receiving the amount of water they need. Best of both worlds, and accurate because there’s no guessing! On the positive end of this early heat, sow seeds of the first of your summer vegetable choices, and plant seedlings you purchase. We don’t know what the immediate weather future will be, so may as well get a jump on summer-lovers. Even if it turns cold again, you’ll just replant them later anyway! Best to start seeds in starter trays, instead of the garden soil, since the soil is still too cold for healthy germination, unless you have a bed with lots of organic matter that warms up quickly. Seed-starting temperature guidelines for warm-season vegetables are 65-80°F. Or, try the “seat” or “palm” test – set your bare skin on the soil; if it feels comfortable, it’s warm enough to start seeds; if it feels chilly, it’s not yet warm enough. Definitely a good thing – It was 5:45pm this evening before I couldn’t tell the difference between the weeds and the wildflowers, so had to come indoors to make dinner – using those blossomy shoots of broccoli and bok choy along with other greens, of course!  Roses can be just as drought-tolerant as California Natives. After sustaining newly-planted roses through the first year, they can be left to fend well enough by once-a-month deep watering even through the hot summer. I’ve found this out years ago in my Pasadena garden only because I unintentionally neglected my 30 or so rose plants in different areas of my garden while I attended to my vegetables and fruit trees. The roses never seemed to look poorly, even though I watered them only sporadically maybe once a month; however they were well mulched. So I never quite understood why many other gardeners disdained roses for their high maintenance and frequent spraying schedule – since I never did either.
Transplanting When transplanting roses, dig the hole a good 6 inches beyond the stretch of the roots so it’ll be easier for them to extend straight out into the native soil. Spread roots as equally around the soil cone as possible, and cut off any broken bits and any that extend further out – you don’t want to have any curling around. Refill the hole with the original soil, adding no compost or other organic matter, and being spare with nitrogen fertilizers, as these hasten new foliage which may be damaged by late frosts and attract aphids. Create a watering berm a good foot away from the stem, and fill it three times to completely saturate the soil in the entire area and settle in the roots. Then add a 2” layer of organic mulch to the top to moderate soil temperature and gradually break down and distribute nutrients. Fertilizing Feed plants with a slow-release organic formulation that’s about equal in N-P-K so plants grow consistently and slowly and have the nutrients to bloom well. Too much nitrogen at the beginning of the season will attract aphids, and at the end of the season will foster greenery that’ll perhaps be damaged by frost and not allow the plant to go dormant. In Southern California, this is especially important since we’ve had so little really cold weather over the last several years. Reducing Potential for Problems Aphids To make roses less attractive to aphids, make a point of NOT feeding with high-nitrogen fertilizer the previous fall and winter. It’s that wonderfully succulent new growth that the aphids are after. When they do appear, put on gloves and smash them – and leave the aphid-mush in place to deter future generations! Powdery Mildew Spray the plants -- especially new growth -- with plain water from a hose with a spray head two or three times a week, making sure to cover leaf undersides. Roses that appear to be resistant to powdery mildew include Double Delight, Honor, Iceberg, and Cary Grant. Enabling Longer-Lasting Blooms In A Vase In a university trial, roses were cut when in bud and put in vases of 72-degree water, making sure no foliage was below the water line. Every two days, the stems were cut back about 1/4 inch, and new water was added. Blooms were judged for color, substance, retention of petals, and overall appearance. While all of the roses lasted at least four days, Olympiad and Touch of Class remained in good condition for a full nine days. Red, pink, and orange roses lasted the longest, as did those having many petals mainly due to their slower opening time.
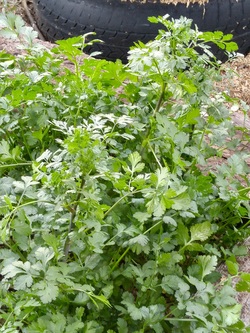
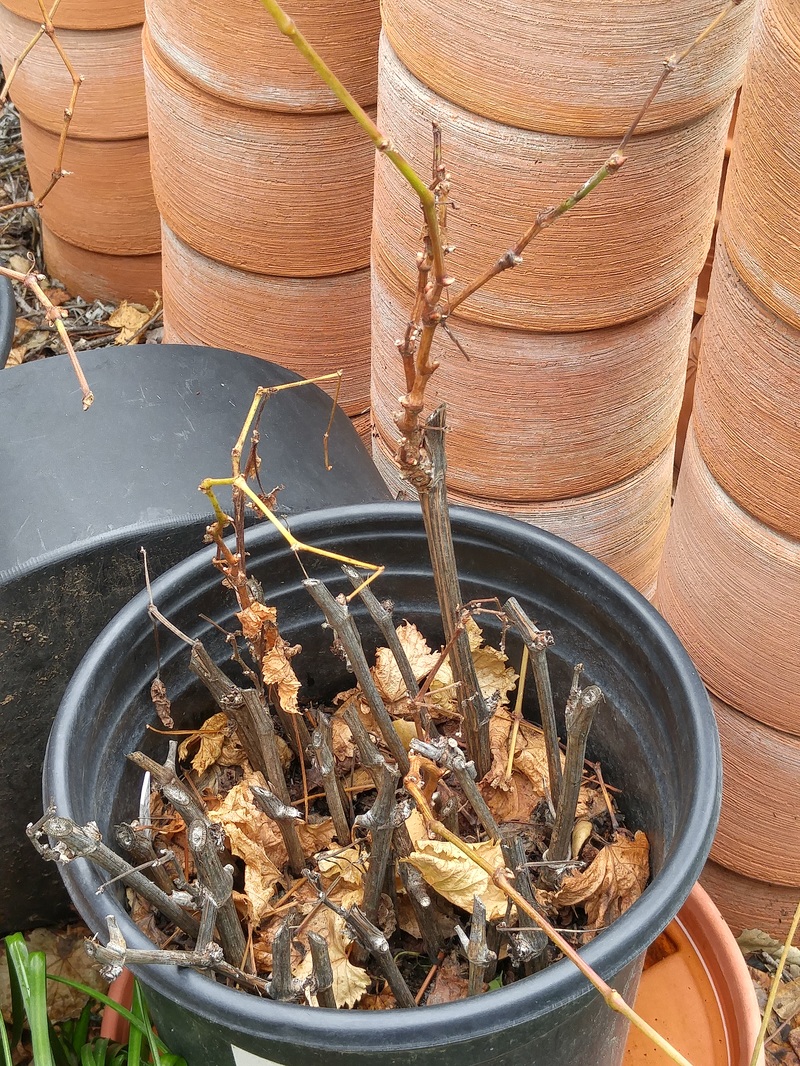
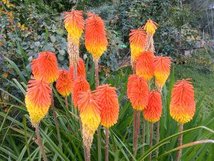
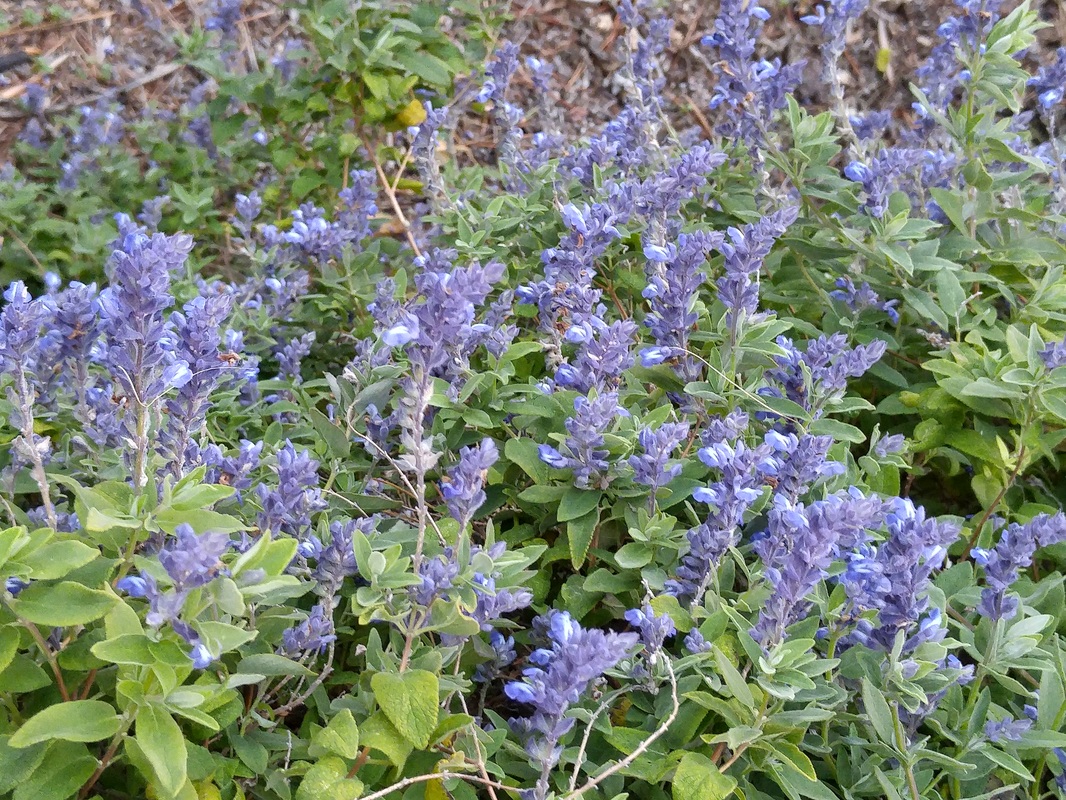
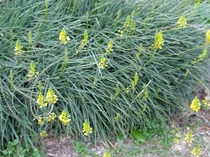
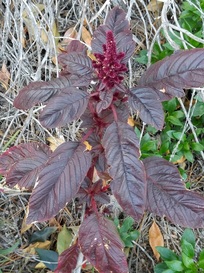
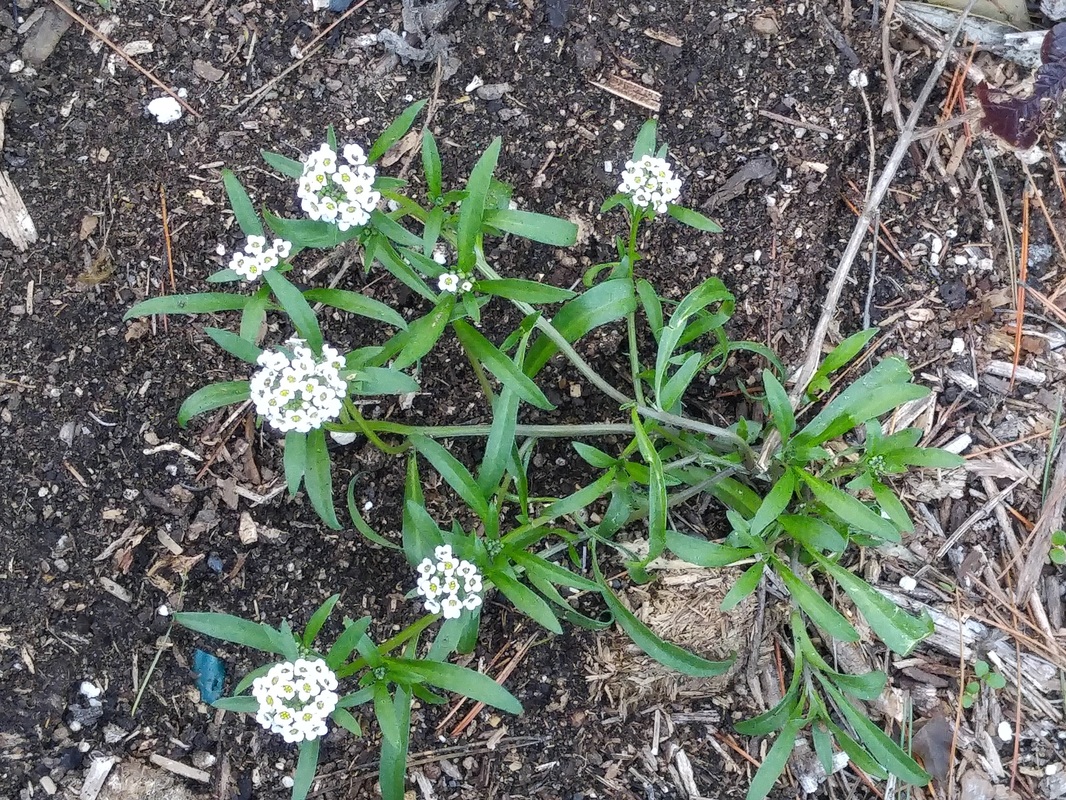
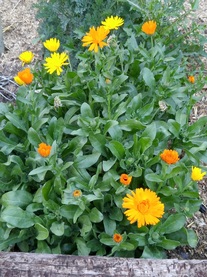
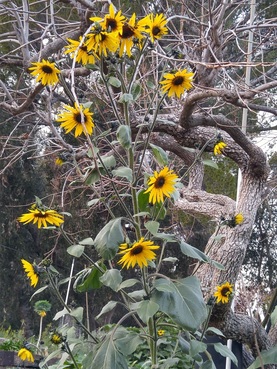 While sowing both sweet peas and edible peas, I noticed a fully blooming sunflower. “In January?” I thought, always having considered sunflowers as summer through fall color. My next thought was that, “But, of course, the weather has been squirrelly for several years, without any frost for all that time; and with alternating heat and chill at strange intervals, the plants and trees haven’t been able to determine what to do when, so they’ve been doing it all at weird times.” So, with rain and cool and warmth, only the sunflower seed decides when to do what it’s supposed to do. Which may mean during those times we gardeners consider beyond "normal." Ah, well, Nature being Nature and trying to guarantee its survival! A note on repeat sowings of peas – last year, I sowed the sweet peas and edible peas every three weeks from September through March, with nary a sprout during that whole time. This was really strange, since in past years I’d had them blooming and producing from Thanksgiving onward. I figured it was just another weather aberration due to lack of sufficient chill and certainly lack of water even though I watered in each batch of seed when I planted it. After several sowings, it got to be a joke in my mind, whether the next sowing would result in any germination. Finally, in April, the seeds came up. The sweet peas provided colorful blooms, and the edible peas gave us lots of munch-your-fill-immediately and more for dinner. Boy, were we ready for those peas, and they were yummy. In May, I followed up with a planting of Wando, the dependable variety for maturing in the early summer heat but still being tender and tasty. I started being aware of what else was blooming in my garden, and came up with these cuties!
 What an exquisite way to start the new year, with rain, wonderful rain! With all the publicity threatening/promising El Nino, I made a point of arranging to have 2 huge truckloads of marvelous composted horse bedding delivered and spread in my pathways and growing beds to slow down and absorb the rain in my hillside garden. Great timing to have this accomplished by the last week of December! And I knew I was really up against the rain when I still had sowing and spreading mulch to do yesterday afternoon. But I made it, all except for the edible peas, which I’ll plant next weekend following the yet-promised storms have left their rain-gold!
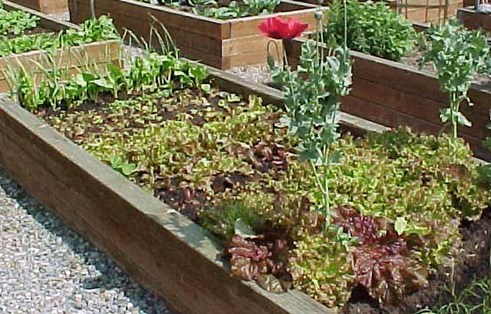
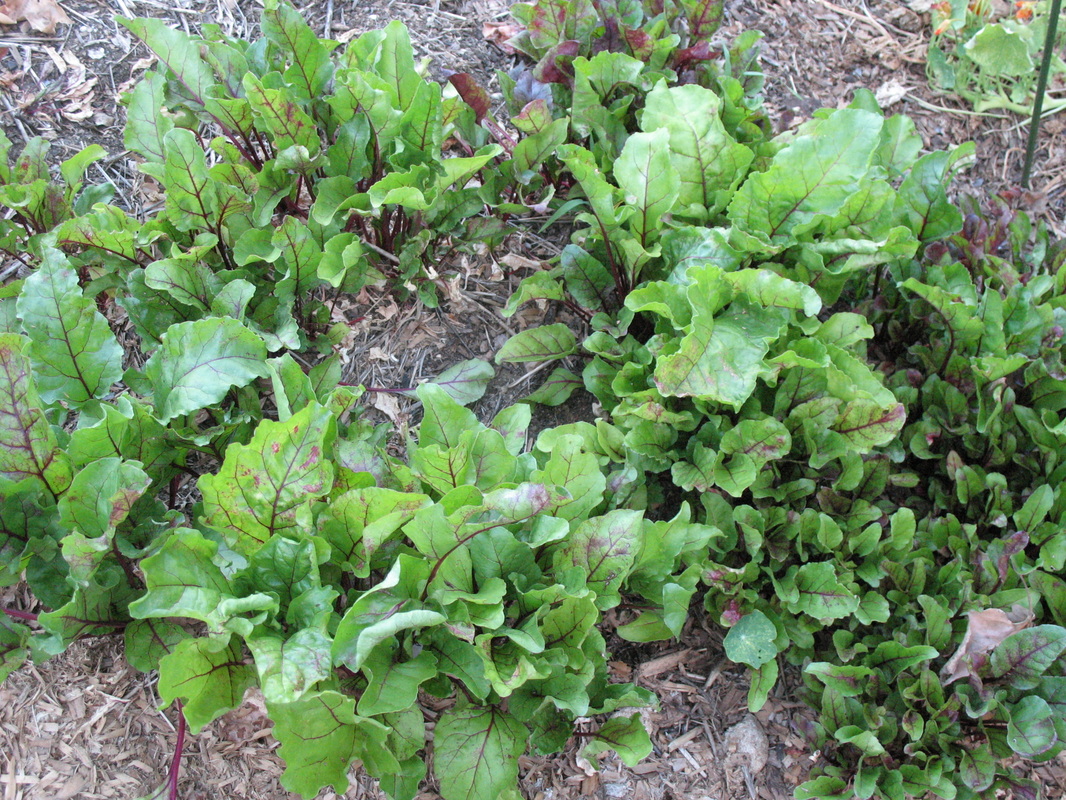
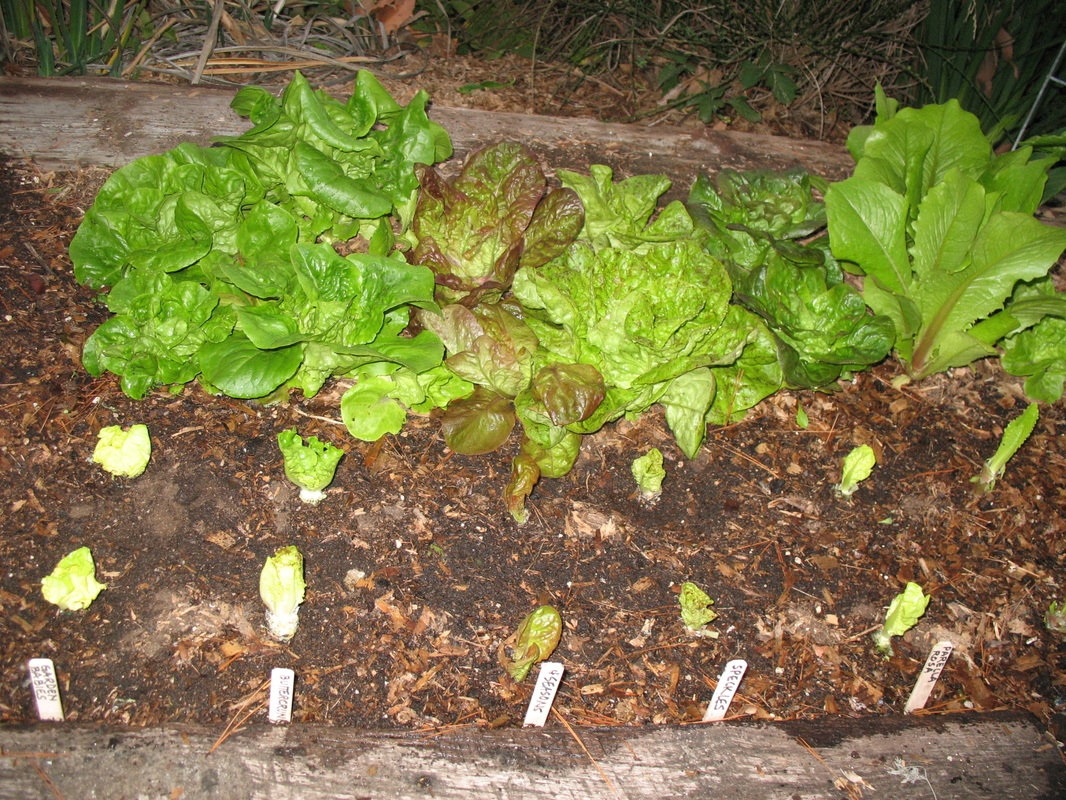
I did forget to take the latest batch of kitchen clippings up to the compost pile. Now I’ll have to wait until the weekend after the storms, since I don’t want to compact the soil even in the pathways by walking there for 2 days following the kind of drenching we just had. Walking on wet soil literally squishes out the air pores, and the air can’t be reintroduced short of digging and turning the area – and who wants to mess with that in pathways? But it’s critical to enable all the garden’s soil to breathe! If you didn’t already spread mulch before the rains, do so whenever you can before warm spring weather that will start to dry out the soil. You want to insulate the moist soil. If you wait too long into the spring warmth to spread the mulch, you’ll be insulating dry soil and will have to water all the more to remoisten the soil surface so the mulch can be of help. If you did spread mulch before these rains, check how deeply the rain went down underneath it into garden soil. If it didn’t go down more than a couple of inches, pull it aside so the upcoming storms will be able to sink directly into the soil. Then, when the soil is moistened at least a foot down, or before spring warmth, spread the mulch out again so it’ll insulate the moisture. With nighttime temperatures above 50°F, go ahead and seed and plant everything that’ll mature through early summer, including tomatoes – but not any other summer-heat-lovers like cucumbers, melons, peppers, squash since they’ll just sit and pout and never really catch up to ones you sow or transplant when daytime temperatures are consistently above 70°F. I even pulled out the 4” bean plants that had germinated during the warm spell several weeks ago. No reason to “waste” garden space having plants struggle! Best to grow in season what thrives in those conditions! Just finished the first harvest of 10 different lettuces in all shades of green and maroons and speckles and crinkliness – I love the Bibb type butterheads and even some cos romaines because I harvest the outer leaves only and love their crunchiness. I separate the leaves that are more than four inches long for sandwiches, and keep the tinier ones for nightly salads. Spinaches and kales and chards – and even some peppers – add texture and color, and peppers add sweetness. I prefer the pimento-type with their thick walls and letting them mature into deep red coloration. Later this spring, when the spinaches and kales and chards get too plentiful to give away at garden meetings, I saute them with garlic and leek and parsley and cilantro until they’re fully wilted. Then I freeze the mix in 2-cup portions for later addition to quiches, soups, stews, and anything else that occurs to me. It’s a great way to dispense with a huge harvest and have instantly ready later! Guess what we’re having for dinner! 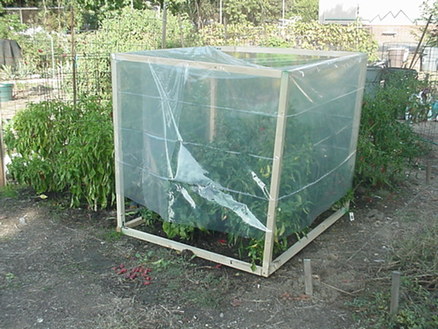 We’ve had some close-to-freezing nighttime temperatures which may continue for another month or so. In Pasadena, our last average frost date is January 28. Plants that are stressed – in winter through lack of irrigation and cold and wind – are more susceptible to frost damage. Here’re some ways to protect your established plants.
Watering The first protective measure against frost damage is to water the plants so their full root zones are moistened, which luckily got helped along earlier in the month and again just last week. Regular irrigation should be reduced, not stopped, as plant photosynthesis slows down and cold weather – especially with winds as we had a couple of days ago – dries plants out. Although plant and tree roots are not very efficient in absorbing moisture during cold weather, be sure that they get the water they need but aren't waterlogged – good drainage is as important! Concentrating Warmth To help concentrate daytime warmth, cover beds with clear plastic sheeting. Anchor down the edges with soil or rocks to keep out slugs and others who love the succulent plants, and to keep the sheeting from blowing away. Protect citrus from cold damage by wrapping the tree trunks in newspaper and covering the foliage with plastic sheeting. Note that cold soil and dry winds can cause the rinds of ripening fruit to develop bleached blotches, and leaves to turn yellow where the sun strikes. Take a cue from festive holiday lighting by stringing lights throughout trees. However, only the old-fashioned kind that emit a bit of heat are helpful; the new types don’t emit heat so they’re only pretty! For overnight protection of tender plants, cover bougainvilleas, fuchsias, hibiscus, and other subtropicals with large cardboard boxes; or drape old sheets or tarps or plastic sheeting on stakes over them. If they’re opaque, you must remove them each morning so the plant can continue its photosynthesis. And, be sure that plastic sheeting doesn't directly touch the foliage, as it may conduct the frost directly to the leaves that it touches. Move Container Plants Move dish cacti and succulents and potted trees under cover for protection. Frost literally falls from straight down, so it’s more important to protect plants from above instead of the sides.
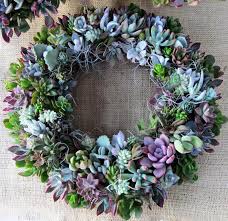
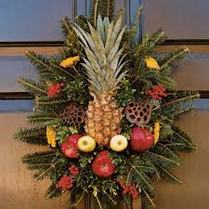
 We have a plentitude of décor materials for these winter holidays right in our own gardens, however tiny! From that single blooming mum plant in a container to a wealth of veggies and ornamentals across acres of landscape, we’re indeed lucky to be living in Southern California! Adding ribbon and trinkets personalize our plant groupings at the front door, on the dining table, and in each person’s individual space. Looking at "regular" items in a new way can reveal many options. Adding green and red bell peppers provide classic holiday colors to a wreath on the front door. An oddly-curled over-mature Armenian cucumber or long-necked gourd becomes a highlight in a table arrangement. A tree ornament becomes special when it's the only one on a wreath hung on a child's door, signifying his or her special place. As simple as a bunch of favorite herb branches tied with a ribbon or as complex as a large and intricate wreath embellished with many sentimental items from a person's lifetime, materials can encompass anything you can get your hands on. Try grapevine trimmings off the back fence, pine cones fallen from the neighbor’s tree, posies you dried yourself or chili peppers you strung last summer, a whole sunflower head, eucalyptus foliage and pods, evergreen clippings -- pine, spruce, holly, redwood, cedar, osmanthus, juniper -- honeysuckle trimmings, magnolia leaves and seed cones, wisteria trimmings, fresh and dried fruits and nuts, dried Indian corn ears with husks partially removed to reveal colored kernels, dried rosebuds, and pyracantha berries and leaves. Anything and everything becomes fair game when it comes to decorating. The essence of creativity is bringing materials together in a new and exciting way -- it's all up to you and your innate cleverness and sense of humor.
|
Categories |


 RSS Feed